
Best Yoga poses to relieve lower back pain
Yoga is a great way to improve your flexibility and relieve the symptoms of lower back pain. Yoga aims to bring the mind and body together through breathing, meditation and poses. It is known across the world for its health benefits, including pain relief, improved sleep, increased energy, amongst other benefits. Before starting any new regime, it is always a good idea to speak to a healthcare provider about your back pain first.
Reclined Supine Twist
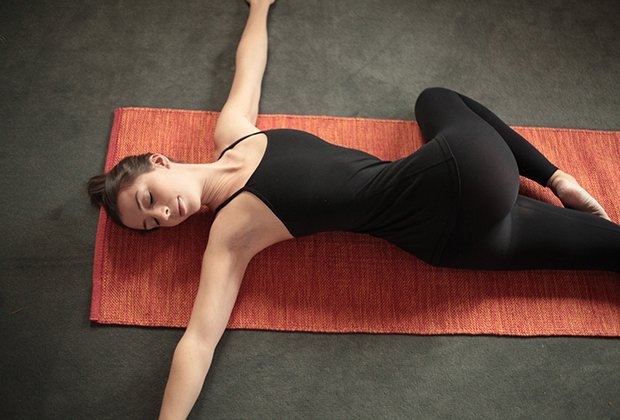
Lay on your back and extend your arms straight off the shoulders.
Draw your knees in towards your chest and drop them to the right. You must be able to relax in this pose, so if you are struggling touching the ground, use a pillow or a yoga block to rest your knees upon.
Release your shoulder closer to the floor. It doesn’t matter if it doesn’t touch.
Ensure your spine and neck are aligned – if your head wants to drop to the ground and push the spine out of alignment, raise it up with a pillow or rolled towel.
Hold this pose for one minute, before repeating on the other side of your body.
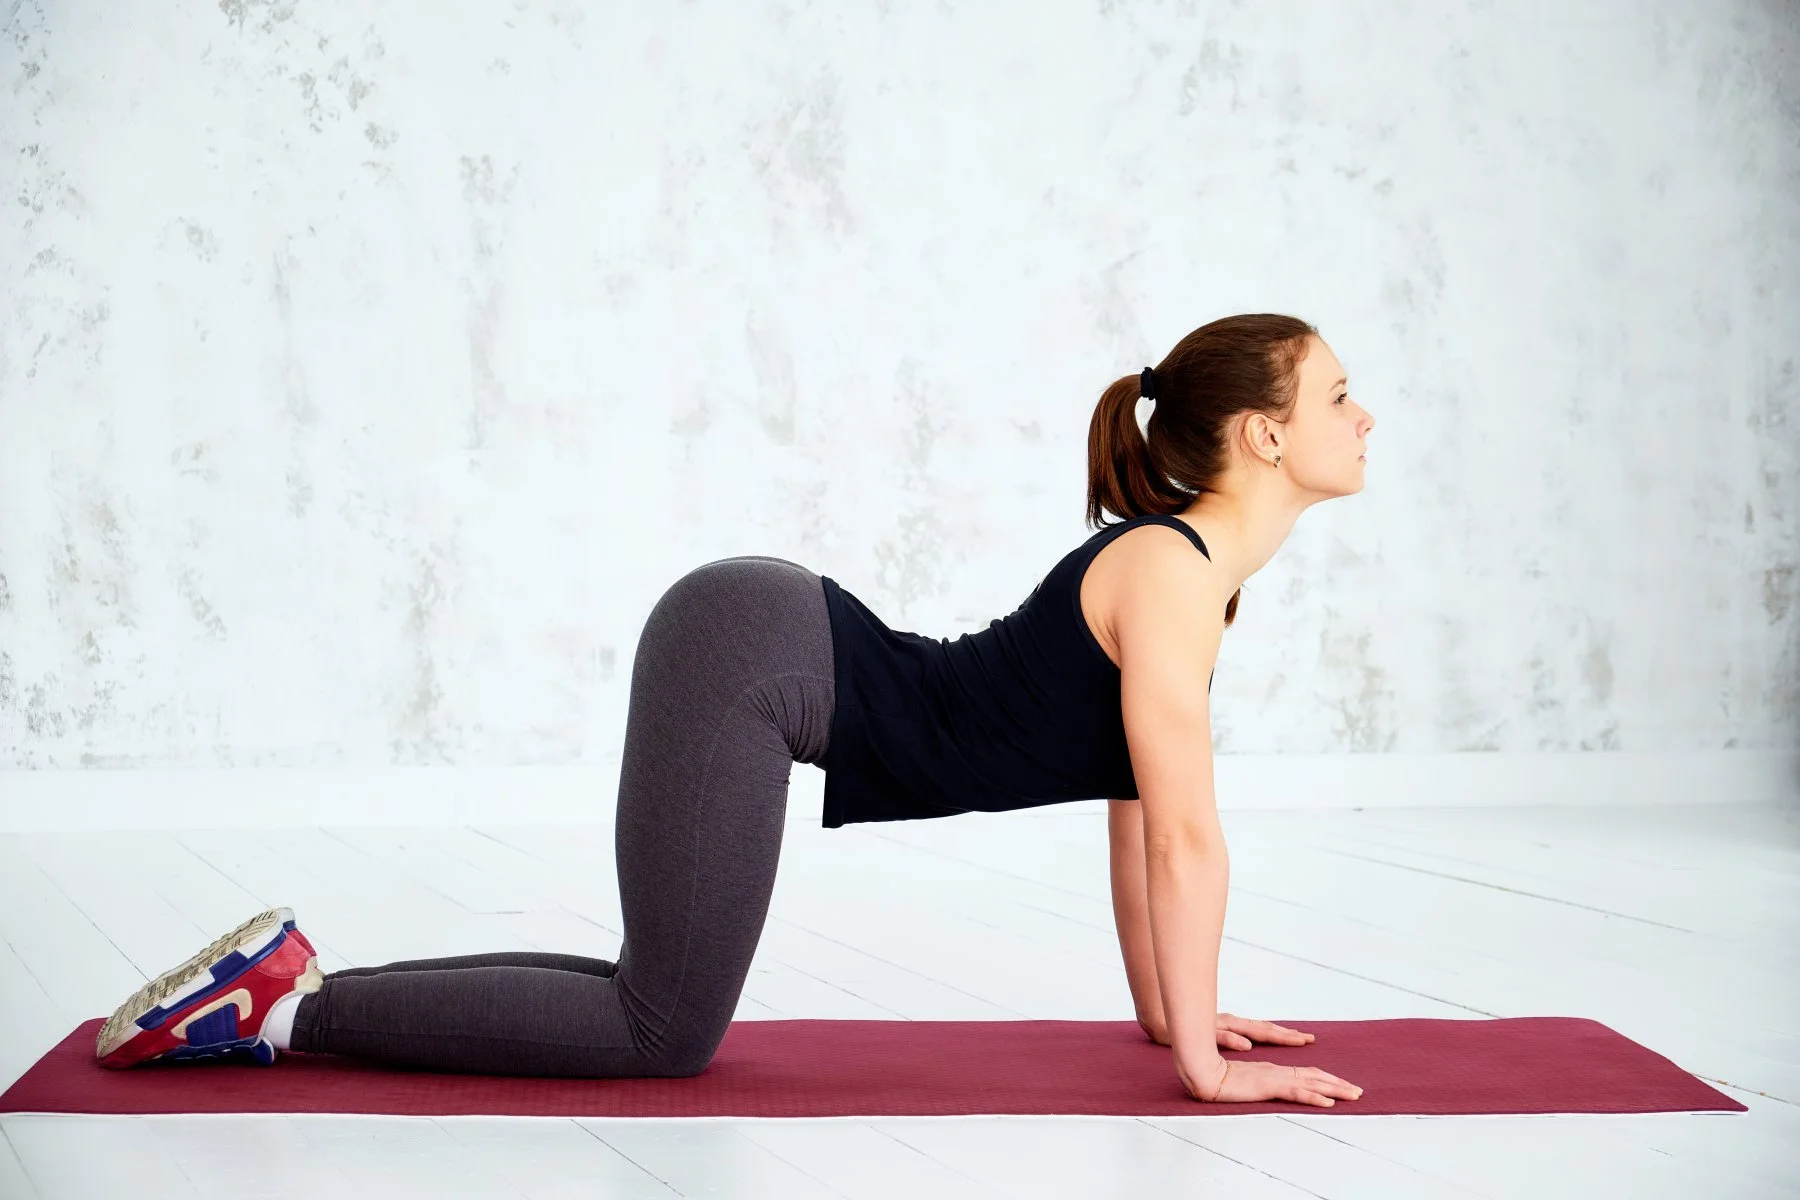
Cat / Cow Pose
Start on all fours with your knees directly under your hips and the wrists directly under your shoulders. This is known as the table top position.
As you exhale, round your spine, tucking the tailbone towards your chin, dropping the crown of the head toward the floor. This is known as the Cat pose.
Next, on an inhale, reverse the move, dropping your belly toward the floor, and lifting your tailbone, chest, and face toward the sky. This is known as the Cow pose.
Repeat both poses five to seven times each.

Child’s Pose
This is the resting pose. It gives you – and your lower back – a break.
From that tabletop position, bring your feet together and press back to sit on your heels, laying your torso on your legs.
Bring your forehead to rest on the floor and extend your arms long overhead, making sure to plug the arms into their sockets – don’t let your shoulders come up toward your ears!
If it hurts to keep your legs close together, spread your knees wide but keep your feet together.
To deepen the stretch, tuck your tailbone and lengthen the crown of the head, maybe walking the hands a little farther out in front of you.
Hold this pose for up to three minutes.
Downward Dog

Starting again from the tabletop position, tuck your toes under and lift your hips. Again, from a tabletop position, tuck your toes under and lift your hips toward the sky.
Ensure that your hands are shoulder-width apart and your shoulders should be down away from the ears.
Sphinx Pose

To start, lower down onto your stomach and ensure your feet are hip width apart.
Bring your forearms onto the floor with your elbows directly underneath your shoulders, chest and crown of the head lifting toward the ceiling.
If you feel any strain on the low back, take your legs out a little wider. If you still experience pain, come out of the pose entirely.